
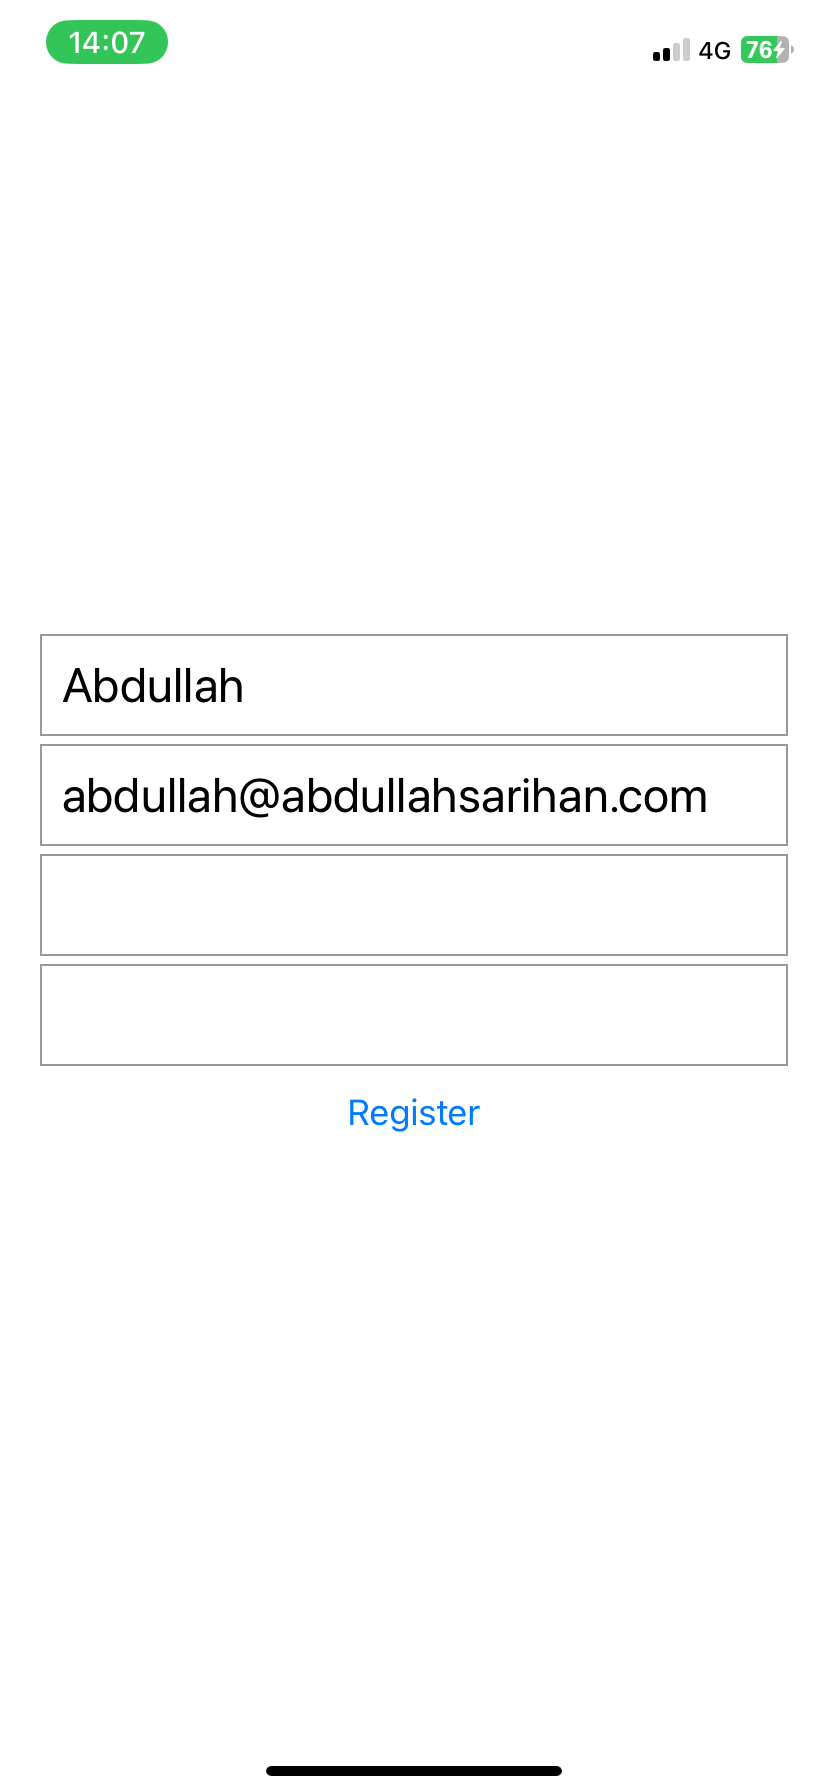
React Native de form yönetimini manuel veya formik kütüphanesi ile yapabiliriz. Öncelikle manuel olarak örnek bir form oluşturup bunu görünteleyecek şekilde kodumuzu oluşturduk. Username, email, password ve passwordconfirm alanlarını oluşturduk ilk başta bu alanları boş şekilde belirledik. Daha sonra form üzerinden bunları kontrol edecek şekilde validasyon oluşturduk. Değişiklikleri tutacak şekilde handleChange içinde text parametresi ve girilen değer şeklinde inputu belirledik. Bunu da TextInput içinde onChangeText içinde girilen değere göre örneğin username, email, password şeklinde değişiklileri ekrana bastırdık.
//src/components/Form.js
import { View, Text, TextInput, StyleSheet, Button } from "react-native";
import React, { useState } from "react";

const Form = () => {
  const [form, setForm] = useState({
    username: "",
    email: "",
    password: "",
    passwordconfirm: "",
  });

  const handleSubmit = () => {
    if (!form.username) {
      return false;
    }
    if (!form.email) {
      return false;
    }
    if (!form.password) {
      return false;
    }
    if (!form.passwordconfirm || form.password !== form.passwordconfirm) {
      return false;
    }

    console.log({ form });
  };

  const handleChange = (text, input) => {
    setForm({ ...prev, [input]: text });
  };

  return (
    <View style={styles.container}>
      <View style={styles.item}>
        <TextInput
          style={styles.input}
          placeholder="username"
          value={form.username}
          onChangeText={(text) => handleChange(text, "username")}
        />
      </View>

      <View style={styles.item}>
        <TextInput
          style={styles.input}
          autoCapitalize="none" //Oto büyük harfle başlamayı kapattık
          keyboardType="email-address" //Eposta formatına göre klavye açacak
          placeholder="e-mail"
          value={form.email}
          onChangeText={(text) => handleChange(text, "email")}
        />
      </View>

      <View style={styles.item}>
        <TextInput
          style={styles.input}
          placeholder="password"
          secureTextEntry
          value={form.password}
          onChangeText={(text) => handleChange(text, "password")}
        />
      </View>

      <View style={styles.item}>
        <TextInput
          style={styles.input}
          placeholder="password confirm"
          secureTextEntry
          value={form.passwordconfirm}
          onChangeText={(text) => handleChange(text, "passwordconfirm")}
        />
      </View>

      <View style={styles.item}>
        <Button title="Register" onPress={handleSubmit} />
      </View>
    </View>
  );
};

const styles = StyleSheet.create({
  container: {
    width: "100%",
    padding: 20,
  },
  item: {
    marginBottom: 4,
  },
  input: {
    borderWidth: 1,
    borderColor: "#999",
    padding: 10,
    fontSize: 24,
    width: "100%",
  },
});

export default Form;
//App.js
import { StatusBar } from "expo-status-bar";
import { StyleSheet, Text, View } from "react-native";
import Form from "./src/components/Form";

export default function App() {
  return (
    <View style={styles.container}>
      <Form />
    </View>
  );
}

const styles = StyleSheet.create({
  container: {
    flex: 1,
    backgroundColor: "#fff",
    alignItems: "center",
    justifyContent: "center",
  },
});
Ekran Çıktısı:
Açıklma biraz daha detaylı olmalı .
Kod lAr mükemmel çalışıyor .
Ellerinize beyninize sağlık.
Çok teşekkür ederim bir katkım olduysa. Açıklama kısmını daha detaylı tutmaya çalışacağım.